EPP - English Paper Piecing: Part Three
How to Assemble Your Project


2. Lay out two EPP pieces in the order in which you wish to sew them. Mine are going to end up in a vertical line, so I have chosen the two at the bottom. Place the last piece on the bottom, and the next in line, on top, flipped down onto the lower piece, right sides together.


3b. Use binding clips or paper clips to hold your two pieces in place. I am right handed, so notice that I have the clip at my starting point, as low as possible, so it is out of the way when I am sewing.

 5. Pull the thread through and hold the end, with the index finger of your other hand. We don't want that tail to pull through, so keep a good hold on it :)
I am using dark blue thread so that you can see it. Please use thread that matches your fabric, or that doesn't show against your fabrics.


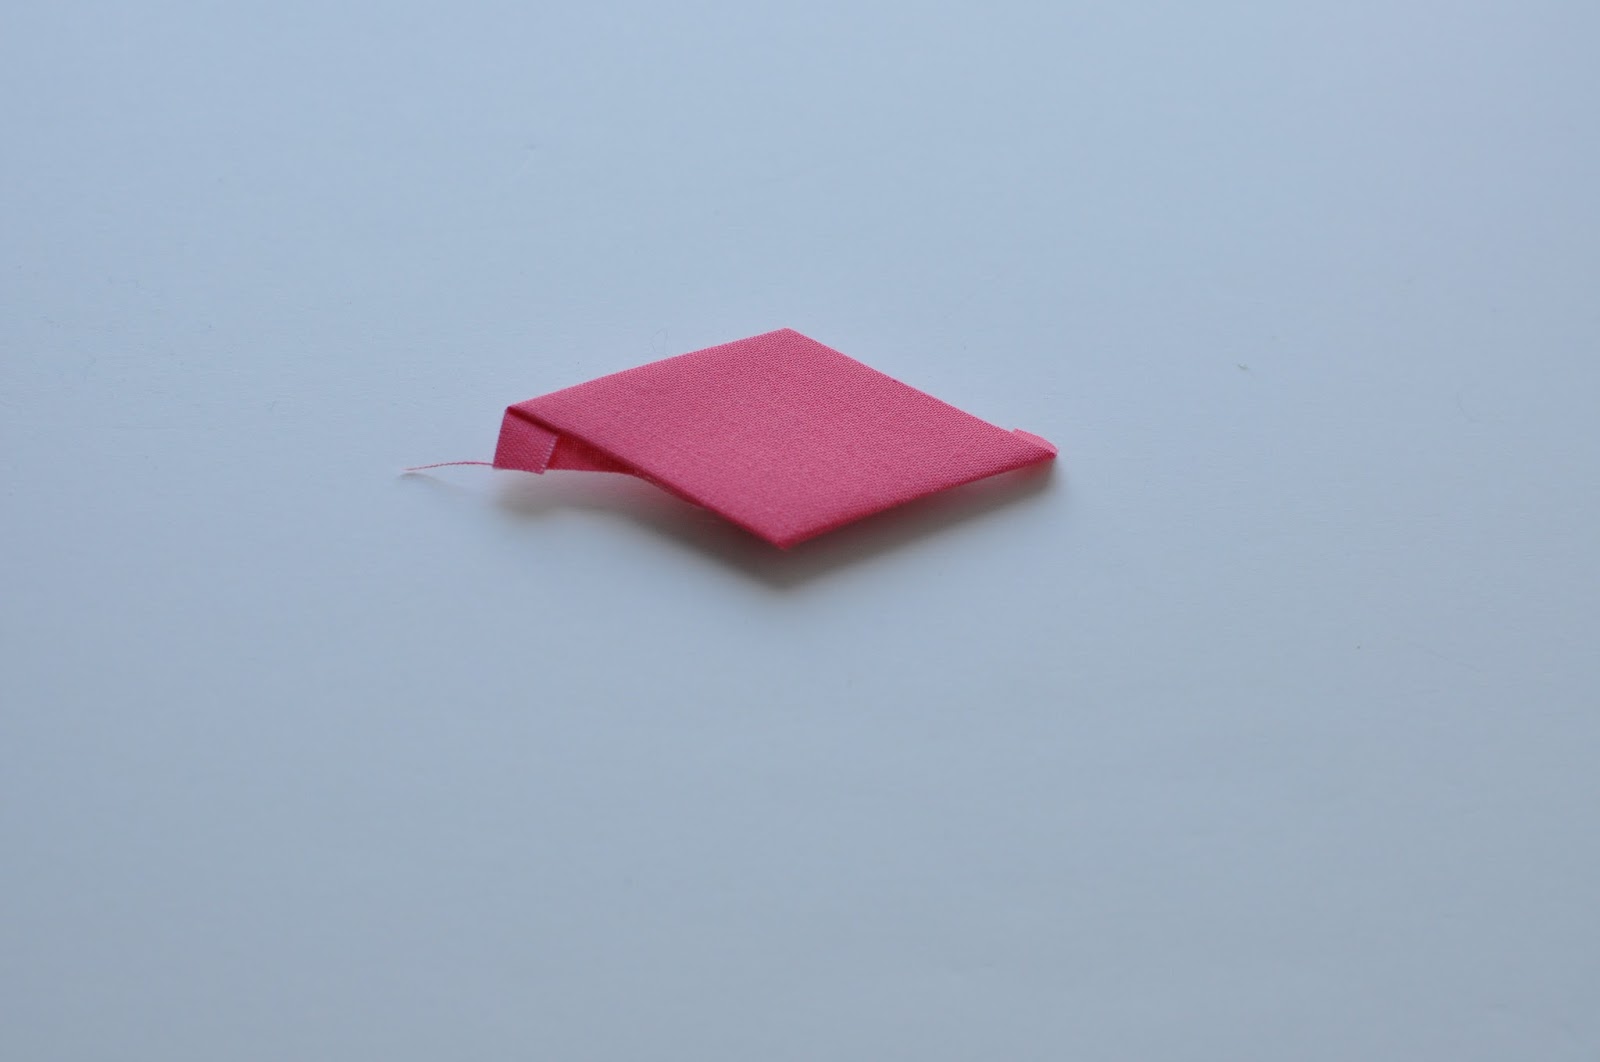
11. Open your work out. Can you see your stitches?? A little bit is fine. Check out that second one that I made that was too much fabric! Can you see how much it stands out? I am pulling my pieces apart, so that you can see better, here.

Here, I am letting the pieces relax. Now it is harder to see the stitches. Your stitches will show less when the papers are removed. but if they're showing a LOT now, they will also show a lot then...
Every time you sew a set of pieces together, you will get better and better at it. Don't worry!!!! I honestly don't think you would see these stitches, if they were in a matching thread. Have fun!!! It's ok if your stitches go up and down at first, they'll come more and more in line as you go. By the third set of pieces you sew together, you'll be an expert! :)

Here is what the back looks like.... These stitches don't show at all on the finished project. So compare them to your work so that you have an idea of scale and don't make yourself go blind trying to make impossibly small stitches :)

How to Assemble Your Project

Plus
Instructions for assembling the Paperie Pillow of Lerve!

How to assemble EPP pieces into a project:
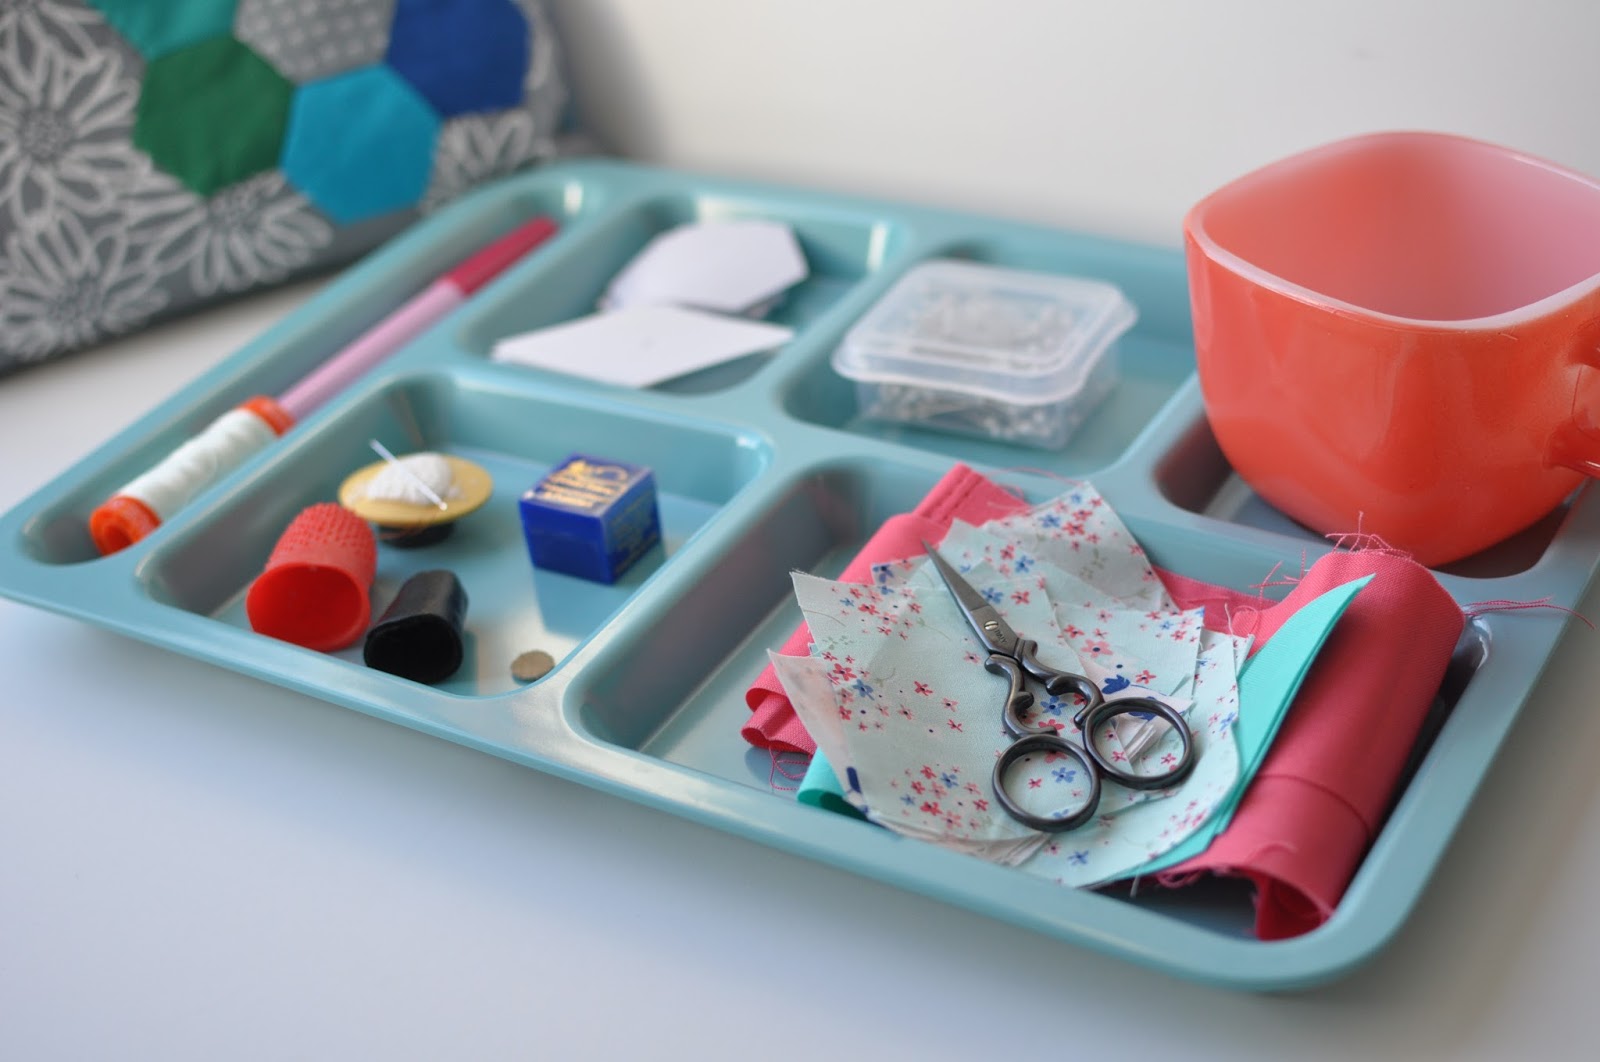
Materials:
Thread or glue basted EPP shapes
50 wt thread that matches your fabrics
Short needle
Thimble (s)
Scissors or snips
Binding clips or paper clips
Let's talk Thread!
- Use a 50 wt thread. 50 wt threads are light, so will show less as stitches, and are strong enough to stand up to actual use. I use Aurifil 50 wt in a color that matches as closely as possible to my fabric. I may use 10 or more different threads on one project! On this project I used Aurifil 2800, a very pale seafoam, and it blended perfectly with all of my colors. It is also less bright than an off white, so will reflect light less in case any does happen to show. Bonus!!
- Now is NOT the time to use old thread!! Get rid of it!! But keep the spools for photo shoots and pretty projects. Old thread disintegrates and will fall apart when your project is in use.
- To polyester or not to polyester?? That is the question. It's up to your personal taste. I use poly thread when I want more sheen in my work. Since I don't want any of my stitches to show when I'm constructing a piece, and steal attention from my finished product, I don't use polyester in construction. I WOULD use it to decorate all over my piller, though!!
Thimbles!
- I have arthritis in my hands, and thought that EPP would be an agony. But no!! It's a complete pleasure once you learn not to over grip. So, relax! Enjoy the process! Don't be in a hurry :)
- I use a leather thimble on my middle finger to push the needle through the fabric.
- I use a rubber machine quilting thimble/finger cover on my thumb because I wear a hole in my thumb pulling the needle through the piece, and guiding it along its course. Does this happen to anyone else?? I don't know!
- Check out that small circular thimble! It's leather, and sticks to anything and anyone you put it on. Then you can remove it and use it again and again! I LERVES them!! I do find that they slip around on my finger, but that is because I'm overgripping. Stop it!! Buy a pack and then come on back here and thank me ;)

Thread conditioner and a Needle keeper
- I like thread conditioner as it helps my thread not knot up as it moves through my piece, especially when I'm doing the whip stitch, around and around.
- Now, you can use spit. But don't tell us. It IS cool that your piece will bear your DNA imprint forever and may someday lead to the resolution of the mystery of where your piece was made and by whom.
- Or, you can always attach a label.
- I like a magnetic needle keeper because I think it's cool.
- It's super handy to be able to find your needle at any time and not worry that either you or the cat is sitting on it. Yikes! So if you don't have a needle keeper, or just aren't cool, a nice piece of felt wool works nicely. just put your needle into it every time you put it down.

Assembly:
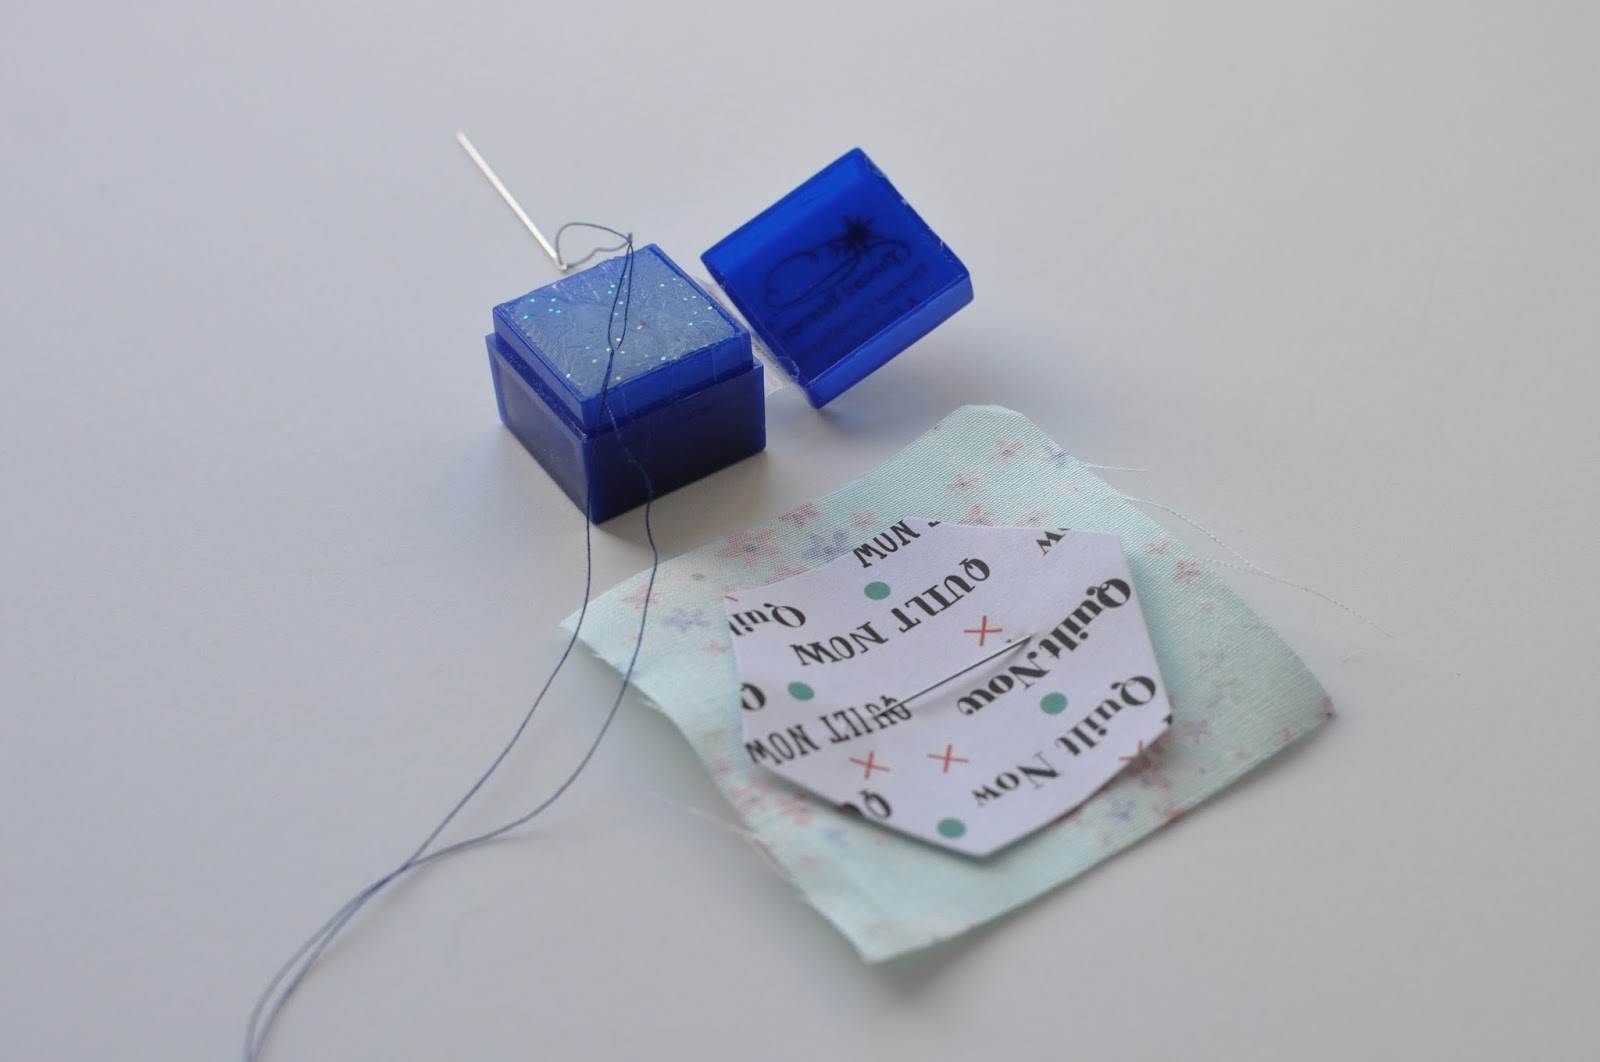
1. Load about 15" of thread into your needle. Pull the thread through until you have about 2" that is single, at the end. Do not knot the end.

2. Lay out two EPP pieces in the order in which you wish to sew them. Mine are going to end up in a vertical line, so I have chosen the two at the bottom. Place the last piece on the bottom, and the next in line, on top, flipped down onto the lower piece, right sides together.

In other words, I would lay out my pieces in the order in which I want them to be when I am finished sewing them. Then, starting with the seafoam green, on the bottom, flip the the flower print down, keeping its orientation, onto the seafoam, and sew together...

Pretend the bottom one is seafoam and the top one is flowered ;)
3a. Align edges to that they are even. This is important, as your finished product's edges and corners will be crisp if your pieces are aligned, now.

3b. Use binding clips or paper clips to hold your two pieces in place. I am right handed, so notice that I have the clip at my starting point, as low as possible, so it is out of the way when I am sewing.

4. Insert your needle into the small flaps made when you folded the fabric over onto the template.

I am using dark blue thread so that you can see it. Please use thread that matches your fabric, or that doesn't show against your fabrics.

6. Insert your needle into the same place, and pull it and the thread through again, stopping just before the end to insert the needle through the loop that is made.

7. Pull firmly to make a knot. I hope you still have ahold of that thread end!! Otherwise, your thread will follow itself on out of your work ;)
8. Let's talk about how big of a bite to take out of the fabric!! You want to get just a few threads on each side of your pieces. I have quite a big bite in the picture below... too much!


See how big of a bite of fabric I have from each side?? It is TOO MUCH. My stitch will show plainly on the front, when I open my work out... Take just a few threads from each side :)
9. Continue on up/across your work, taking a stitch across both pieces about every 1/16 of an inch. 1/8th is too large of a gap and will leave holes that can pull as your work is used.

I like to angle my stitches as I find it easier to hold small pieces and stitch while I sit. You can angle your stitches up or down, or go straight across, whatever is most comfortable for you.
10. Take a stitch in the folds at the end, and make a knot by pulling your thread through that stitch, just as you did to begin your work. Beautiful!! Now cut the thread about 1/2" long. This long tail will help to keep your work from undoing during the stresses of assembling your piece.

11. Open your work out. Can you see your stitches?? A little bit is fine. Check out that second one that I made that was too much fabric! Can you see how much it stands out? I am pulling my pieces apart, so that you can see better, here.

Here, I am letting the pieces relax. Now it is harder to see the stitches. Your stitches will show less when the papers are removed. but if they're showing a LOT now, they will also show a lot then...
Every time you sew a set of pieces together, you will get better and better at it. Don't worry!!!! I honestly don't think you would see these stitches, if they were in a matching thread. Have fun!!! It's ok if your stitches go up and down at first, they'll come more and more in line as you go. By the third set of pieces you sew together, you'll be an expert! :)

Here is what the back looks like.... These stitches don't show at all on the finished project. So compare them to your work so that you have an idea of scale and don't make yourself go blind trying to make impossibly small stitches :)

Let's assemble our pillow!!!


Notice that each column will have one less piece than the one before.
For the Paperie Pillow of Lerve you will need:
6 center 1 1/2" diamonds
12 light salmon pink 1 1/2" diamonds
18 seafoam flowered 1 1/2" diamonds
24 dark pink 1 1/2" diamonds
30 low volume flowered 1 1/2" diamonds
36 dark seafoam 1 1/2" diamonds
Notice how each round increases by 6?? How cool is that?! So whether or not you have your colors chosen, you know that for each round, you'll need 6 more diamonds than the last round. So if you're using scraps or stash, be sure you use the fabric you have the least of, in the center, and the fabric you have the most of, in the outer rounds. Or buy a F8 of Paperie and rock on!!!
We will assemble in vertical rows, then attach the rows into fans, and the fans into halves, then sew the halves together. Then you can applique your piece onto any backing you like!
We will be assembling 6 of these fan shapes:

Fans are assembled on the diagonal. How weird is that!! Can you see, below, that we will make columns of pieces, then attach the columns together to make the fan?


Notice that each column will have one less piece than the one before.
2. We will assemble 6 columns for each fan.
- Column 1 has 6 pieces: Center, salmon, seafoam, dark pink, white flower, dark seafoam
- Column 2 has 5 pieces: Salmon, seafoam, dark pink, white flower, dark seafoam
- Column 3 has 4 pieces: Seafoam, dark pink, white flower, dark seafoam
- Column 4 has 3 pieces: Dark pink, white flower, dark seafoam
- Column 5 has 2 pieces: White flower, dark seafoam
- Column 6 has 1 piece: Dark seafoam ;)
3. Plan a movie night or several and begin to sew your diamonds together, taking your time and enjoying the slow process. Peaceful!! I like to do all of the columns of 6 at once, then the 5's then the 4's etc... that way I feel I'm really making progress! ;) You do them in any order you like. Keep your finished columns in a non bendable folder or box. Take just a few pieces with you as you sew around town. Leave the bulk of the finished pieces to pet at home at the end of the day :)
4. When you have enough columns completed to make a fan, or when you have all of the columns done, begin to assemble the fans.


5. Sew the columns together, beginning with the 6 and 5 piece columns:
Nest the pieces together, so that the edges of each template are even, clipping as you go.


4. When you have enough columns completed to make a fan, or when you have all of the columns done, begin to assemble the fans.
- Layout your completed columns, in rows from 6-1,


Lay them out so that you can clearly see what gets sewn to what :) Notice that the pieces stagger, when we're sewing the columns together, so that the Dark Seafoam is sewn to the white flower in each step and not to it's same Dark Seafoam?
5. Sew the columns together, beginning with the 6 and 5 piece columns:


6. Whip stitch together exactly as you did for your individual pieces.
7. Match column 4 to 5/6, clipping as you go. Sew column 4 to 5/6.
8. Match column 3 to 4/5/6, clipping as you go. Sew.
9. Match column 2 to 3/4/5/6, clipping as you go. Sew.
10. Match the single Dark Seafoam piece to the White Flower piece on column 2. clip the edges, Sew.
Fold open and you're done!! Woo!!

Your glue will sometimes warp your templates as you can see from the slight wave in this fan. No worries!! When the templates are removed, the warp will go away :)
11. Make 6 fans.
12. Assemble three fans into one half of the circle. Assemble the remaining three fans into the second half of the circle.


13. How to match the Center Points:


- Clip beginning in the center and move out towards the edges. The little flaps will help to hold your pieces together and help to align them. Nest these together. You can open your project out and see if your center matches. You can also just sew the center section across, and then open your project out, but you can only do this once, as it will form holes in your fabric if you repeat it.
- You can tack the ends of the center pieces, together, and then sew towards them if you have vastly different sizes of pieces.
14. Continue to whip stitch across from the outside center edges, to the outside edge.
15. Open out your work and admire it!! It's lovely!!!
16. Gently remove the paper templates. If they have holes in the centers, just pry them out with a seam ripper. If not, then bend them enough to get a grip on the middle and gently pull away from an edge, while holding onto that edge. Remind yourself to punch holes in your templates from now on ;) Pull and wiggle, wiggle and pull until you've gotten all of the papers out.
17. Iron. With starch. Take your time. Start in the center and work your way out in concentric circles as each back of each diamond will interlock with its neighbors. I would NOT use steam as you will stretch your diamonds out of shape. Just spray, press down, spray, press down. You will end up with a nice crisp Diamondy Circle of Lerve!!
18. Apply heat n bond or spray baste your circle onto the backing of your choice.
19. Attach using the method of your choice. I used a zigzag in mono filament to attach my EPP to my background because my family are terrible pillow mashers. You know who you are!!!! You might like to try a blanket stitch or other decorative stitches. I know that I'm adding more decorative stitches to mine!
20. Attach the button. I found felt heart buttons at Michael's. I attached my button to the center of my pillow, just through the batting, using Perle cotton thread, and tying a bow instead of a knot. You could sew right through your pillow for that fluffy look, but then you can't remove the cover in order to launder it. But that would be stupendously cute!!!


Thank you for coming on my Piller of Lerve journey!!! I hope you'll post pictures of your EPP projects or tag me over on IG at @sewpsychd so that we can see your lovely work!!

XX!
Lori