Welcome to the tutorial for I'm Cuckoo For You! My sewing machine cover featured in Fat Quarterly Issue 20: Paper Piecing. Woo!
Front Door View
Back of House View
Side of House View
This tutorial accompanies the pattern, which can be purchased as part of Issue 20. This tutorial adds photos and recommendations for beginner paper piecers. I hope that you will take your time with, and enjoy, the process of paper piecing this sewing machine cover!!
I often see online comments from beginners, stating that they are afraid to paper piece. So I designed this pattern to gently lead the confident beginner through intermediate paper piecing. If your sewing machine is larger or smaller than the dimensions of the pattern, you can easily adjust the pattern by adding onto the SKY portions of the pattern (to make it bigger), or by increasing or decreasing the blank portions of the walls that I left for you to decorate. You can also make any of the sides of the house into mug rugs and placemats! Or you can make a house box by making the roof into a floor. Make a Community of houses to store your stash in! Woohoo!
Fabric:
See Pattern. I was given a fat quarter bundle of the delightful Dashwood Studios line, Cuckoos Calling. Just look at all of those cuckoo clocks!! This sewing machine cover was made using the entire line, plus coordinating solids. You could change it up anyway you like :)
Cutting:
Cut as you go. Cut all fabric pieces AT LEAST 1/2" larger than necessary to COVER seam allowances. This way you will enjoy the process, and will always have success when placing your fabrics.
Embellishment:
Have a BLAST!! Woo! I added some fussy cut Cats, some funky flowers, and a heart shaped button for the doorknob.
You could add whimsical cuties anywhere you like, Fill the yard with flowers, and the sky with Sunshine!
Hey! How about making it a red firehouse with black and white Dalmation dogs?! Fun!!
What
you will need
Fabric:
I used
Cuckoos Calling by Dashwood Studios
1/2
Yard main fabric for House, if directional. Slightly more than a Fat Quarter if
using a solid
Fat
Quarter for Top and Roofs, combined
Fat
1/8th fabric for Sky
Fat
1/8th for Door and Window Sills
Fat
1/8th for Garden if using a solid, more if using a directional print
Fabrics
to fussy cut for Window and Garden inserts
Scraps
for Walkway, Buntings, Curtains, Chimney and Sun
Ric
Rac for Trim
Button
for door knob
1/2
yard One-sided fusible stabilizer or batting
Hemming
tape for finishing
Materials:
Fabric
glue stick
Add a
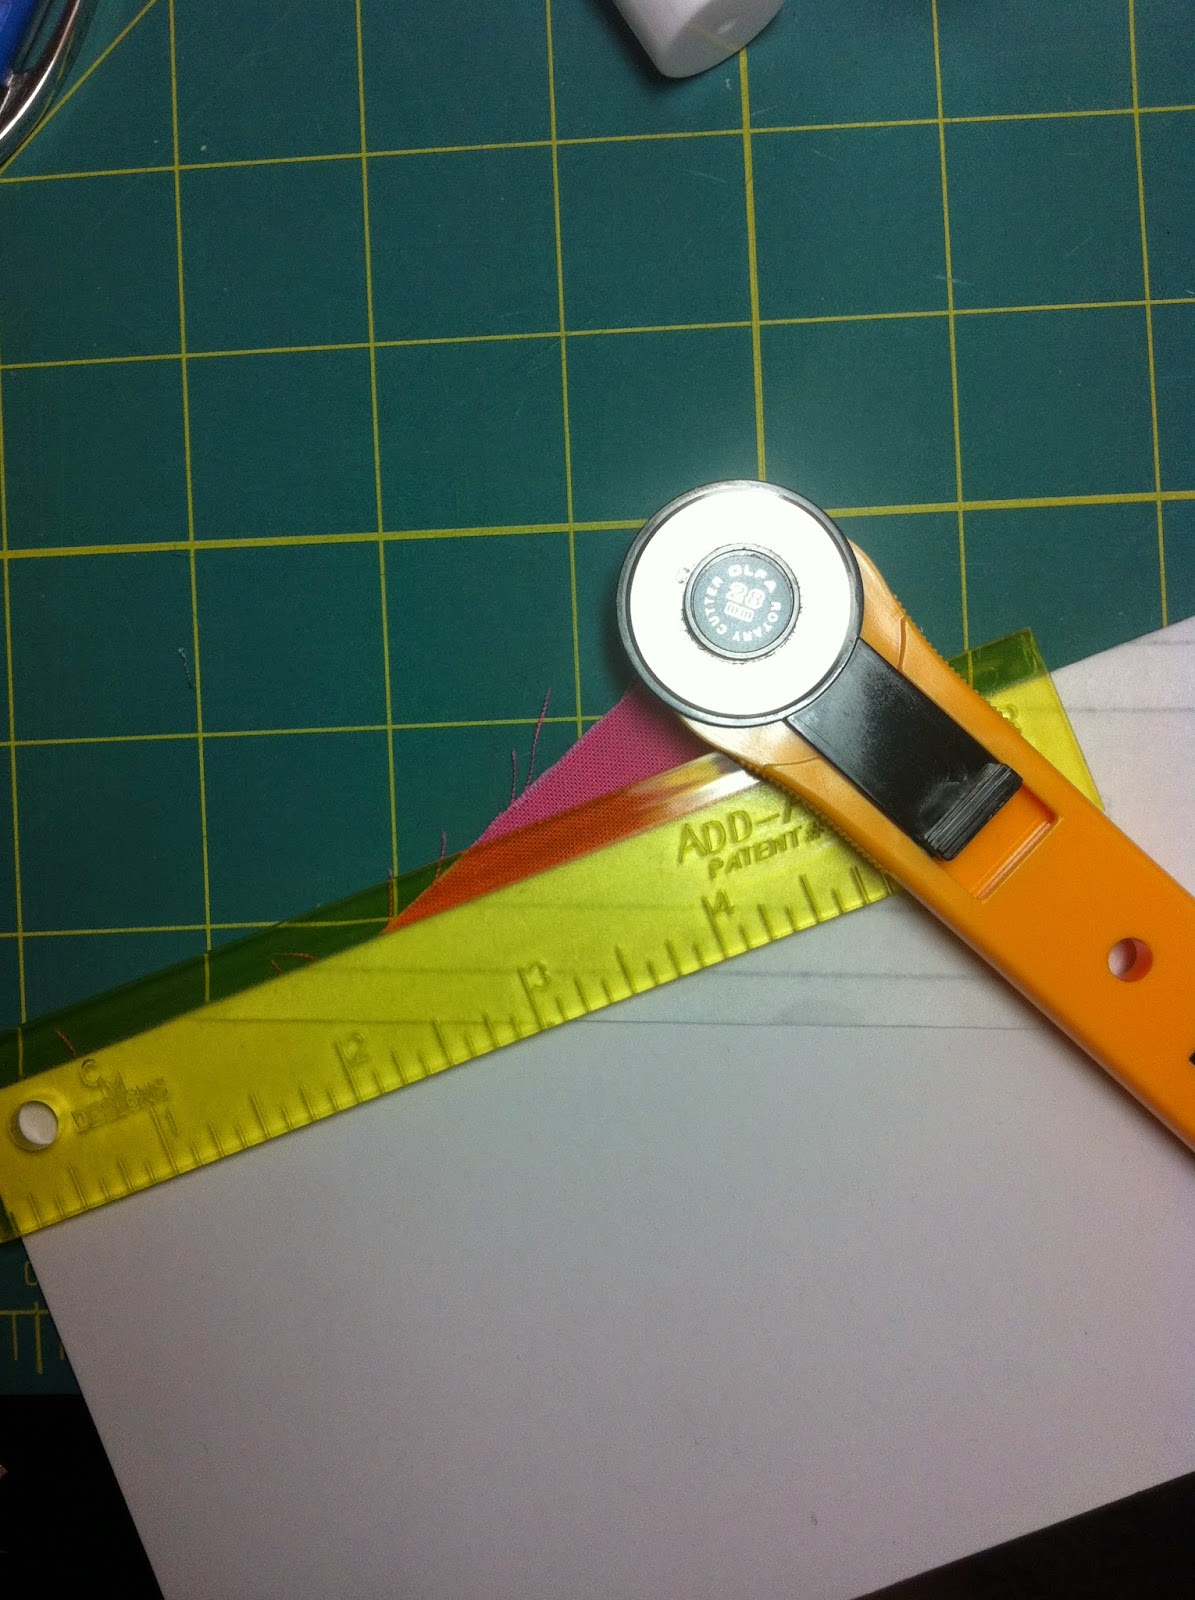
Quarter ruler, or long quilting ruler with 1/4” measurement
Recycled
copy paper or paper piecing paper
A
piece of cardstock or a sturdy post card
Scissors
for cutting paper
Rotary
cutter
Things
to Remember
Remember
to read the pattern in full before starting
Seam
allowances are 1/4” unless stated otherwise
Always
press your fabrics before starting
Press
all seams as you go along
Finished
Size: 8 1/2” Wide x 16 1/2 “ Long x 12 1/2" Tall
Beginners:
Begin
by piecing the Side Sections of the House. Pay special attention to the “Tips”.
You
will learn:
- Piecing
in a series, A-B-C
- Fussy
cutting
- Gentle
Angles – Roof
- Acute
Angles – Bunting, window curtains
<<Tip>> Clip all threads as you go. This will keep your final project from looking like a hedge hog, lol!
Intermediates:
Review
instructions for assembling Sides of the House. Begin sewing with whichever side
you like. You will make two house sides, a front and a back. Kick it up a notch
and frame your fussy cuts, put curtains in all of the windows, or add fussy
cuts to the garden or sky. How about making special house for a Cat Lady?! Have
fun!!
Step
One:
Prepare
pattern pieces:
- Print
on recycled or paper piecing paper in Landscape mode. Be sure your printer is
NOT set to ‘scale to fit’.
- Color
in or label each section of the pattern so that you can tell the sections apart
as you are paper piecing.
- Cut
out ONLY the pattern pieces you are currently using. This will help you to stay
organized and not accidentally mix up pattern pieces. Lay them out so that they
represent the finished part of the house. Keep them in this format for
reference. Don’t forget that the pattern is the reverse of the finished
product!
Color in and Label the parts!
-Cut
out and tape together Roof and Garden sections of house sides, AFTER you have
assembled the Center section of each of the sides of the house, in case your
seams are greater or lesser than 1/4”.
Step
Two:
Prepare
Materials:
- Lower
your ironing board, and place it adjacent to your work space. Heat your iron.
- Cut
pieces of fabric AS YOU GO. Please follow the cutting guidelines for each
section. Doing so will make placement of the pieces easier, and ensure overlap
of fabric into seam allowances.
<<Tip>>
If you use solid fabrics, except for fussy cuts, it will be easier to cut for
this project, and use less fabric.
Step
Three:
Piece
House Side
Section
B, House Side:
B1 –
Fussy Cut Window, cut 5” Wide x 5” Tall
<<Tip>>
Cut a piece of freezer paper to this dimension. Use it to choose your fussy
cut, then lightly iron in place, then cut
B2 -
House, 4” Wide x 2” Tall
B3 –
Window Sill, 4”Wide x 1 1/2” Tall (cut a strip 1 1/2" Tall by 15” Wide and
cut into sections for all window sills on this side)
B4 –
House, 4” Wide by 4 1/4” Tall
B5 –
House, 1 1/2” Wide x 9” Tall
B6 –
Sky, 1 1/2” Wide x 9” Tall
B7 –
House, 2” Wide x 9” Tall
Assemble
Section B:
-Choose a fabric to fussy cut
for your window (B1). Cut. Dot a dab of glue onto the back of the B1 Section of
your pattern. Place the fussy cut fabric, wrong side towards the glue. Holding
the pattern and fabric up to a strong light, arrange the fussy cut so that it
is centered in the window, and overlaps all seam allowances. Press fabric to
glue to adhere in place.
<<Tip>>
Practice. Slide the fussy cut up and down and around! Are all of the seam
allowances adjacent to that piece, covered? If not, adjust until they are, or
cut a larger piece of fabric
- Place on a cutting mat, fold
the paper piece pattern towards you along the line between B1 and B2 so you can
see the fabric underneath, and then crease using the card stock as an edge.
- Using the Add a Quarter ruler, trim fabric 1/4” from the paper fold.
- Unfold paper pattern and
flatten. Align edge of B2 with edge of B1, RIGHT SIDES TOGETHER. Practice by
flipping B2 up into its finished positon. Does it cover all seam allowances? Is
it upside right?
- Return B2 so that it is right
sides together with B1. Smooth edges of fabric so that they adhere to each other.
Sew along the B1/B2 line, making sure stitch length is set to 1.8.
<<Tip>>
Slide from the Side! Insert your
fabric under the presser foot by sliding from the side, rather than sliding
over the feed dogs. This will keep your top and bottom fabrics from slipping
apart or folding back.
- Flip B2 fabric into place and
gently press. Be careful not to slide the iron as this may warp your piece.
Celebrate!! You’ve done the hardest part!!
- Using card stock, fold paper
pattern along line B1/B3, trim. Unfold paper pattern and flatten. Align piece
B3 right sides together with the edge of B1, smooth together, and Sew.
- Flip B3 into finished position,
press.
- Using card stock, fold paper
pattern along line B3/B4, trim. Unfold paper pattern and flatten. Align piece
B4 right sides together with the edge of B3, smooth together, and Sew.
-Flip B4 into finished position
and gently press. You may wish to add a dot of glue to hold it in place
- Using card stock, fold paper
pattern along line B1234/B5, trim. Unfold paper pattern and flatten. Align
piece B5 right sides together with the edge of B1234, smooth together, and Sew.
- Flip B5 into finished position
and gently press.
- - Using card stock, fold paper
pattern along line B5/B6, trim. Unfold paper pattern and flatten. Align piece
B6 right sides together with the edge of B5, smooth together, and Sew.
- Flip B6 into finished position
and gently press.
- Using card stock, fold paper
pattern along line B1234/B7, trim. Unfold paper pattern and flatten. Align
piece B7 right sides together with the edge of B1234, smooth together, and Sew.
- Flip B7 into finished position
and gently press. - You have completed the first
section of your house side! It should look like this:
- Trim completed section,
trimming slightly outside of the seam allowance lines.
Section C:
C1 – Window, Fussy Cut 6
1/4”Wide x 5 1/2” Tall
C2 – House, 6 1/4" Wide x
1” Tall
C3 – Window Sill, 6 1/4"
Wide x 1 1/2" Tall, use strip from section B
C4 – House, 6 1/4" Wide x
4” Tall
<<tip>> Cut a strip
6 1/4" x 5”, cut 1” across width for C2, use the remainder for
C4
Assemble in the same manner as
Section B.
Section D:
D1 - Fussy Cut Window, 5” Tall
x 5” Wide
D2 – House, 1 1/4” Tall x 4”
Wide
D3 – Window Sill, 1 1/2"
tall x 4” Wide, use strip cut in Section B
D4 – House, 3 1/2" Tall x
4” Wide
D5 – House, 9” Tall x 1
1/4" Wide
D6 – House, 9” Tall x 1
1/4"Wide
D7 – Sky, 9” Tall x 1 1/4"
Wide
<<tip>> Cut house
fabric strip 9” Tall by 2 1 /2” Wide, and subcut into D5 and D6. If using a
print, be careful of the direction!
Assemble in the same manner as
Section B.
Assemble BCD Section of house
- Right sides together, Sew
section C to section D
- Check to see that you like your
results. Trim seams. Press
- Sew Unit CD to section B
- Trim around outside of BCD unit,
slightly outside of the seam allowance line. Press. Do not remove papers.
<<Tip>>
Beginners: Do not trim outside seams (sky and garden) until ready to assemble
the entire project. You will have plenty of seam allowance to work with in
assembly. Then trim the seams after sewing.
- Add Ric Rac to top of BCD
Section. Insert Ric Rac into seam between B5 and B6 sections, and sections
B1234 and B7, by unpicking seam 1/4". Pin in place. Sew in place using a seam less than 1/4". Press.
Do not remove papers. The
papers will help keep your sections from stretching or wrinkling as you work.
Section E:
Measure
your actual assembled house BCD section. Tape E sections together to equal this
amount as illustrated below.
Cut:
E1 - Roof, 3” Tall x length of
your BCD section
E2 & E3 - Sky, 4” Tall x 4”
Wide. This may seem like a large piece of fabric, but if using directional
prints, it will allow you to align them as you like, and still cover seam
allowances once flipped into place.
<<tip>> Cut a strip
4” Tall by 8” Wide. Then subcut into two equal E2 and E3 pieces
Assemble Section E, Roof:
- Sew E1/E2 intersection
- Sew E2/E3 intersection
- Press. Trim around the outside
of the completed section, slightly outside of seam allowance line
- Sew Section E, Roof to Section ABCD, House.
Press.
Section
A, Garden:
Measure
your actual assembled house BCD section. Tape A sections together to equal this
amount as illustrated above.
Section A:
A4 – Garden, 2 1/2" Tall x
your length plus 1/2" extra
A1 – Fussy Cut, 2 1/2"
Wide x 2 1/2" Tall
A2 – Garden, 1” Wide x 2
1/2" Tall
A3 – Garden, 2” Wide x 2
1/2" Tall
Assemble Section A:
- Sew A1/A2 border.
- Sew A1-2 to A3
- Sew A123 to A4
- Press. Trim to same length as
section BCD.
- Sew to Section BCD. Press.
- Remove papers, GENTLY. Try not
to stretch the sections. Woohoo!! Looking Good!
- Make second House side. Enjoy
the process!
Step
4:
Piece
Front Entrance of House:
Section A, Front of House:
A1 – Walkway, 5” Wide x 3
1/2" Tall
A2 – Garden, 5” Wide x 4” Tall
A3 – Garden, 3” Wide x 4” Tall
Assemble Section A, Front of
House:
- Sew A1 to A2, Press.
- Sew A 1-2 to A3, Press.
- Trim around perimeter, trimming
slightly outside of seam lines.
Section B, Front of House:
B1 – Fussy Cut Window, 4 1/2”
Wide x 4 1/2" Tall
B2 – House, 4” Wide x 1
1/2" Tall
B3 – Window Sill, 4” Wide x 1”
Tall
B4 – House, 4” Wide x 4” Tall
B5 – House, 1 1/4" Wide x
9” Tall
B6 – Sky, 1” Wide x 9” Tall
B7 – House, 1 1/2" Wide x
9” Tall
<<tip>> B5 and B7 can be cut from
a single 2 3/4” Wide x 9” Tall piece, then subcut into B5 and B7
Assemble Section B, Front of
House:
- SEW B1 to B2, Press, Trim.
- SEW B1-2 to B3, Press, Trim.
- SEW B123 to B4, Press, Trim.
- SEW B1234 to B5, Press, Trim.
- SEW B12345 to B6, Press, Trim.
- SEW B123456 to B7, Press.
- Trim around perimeter, trimming
slightly outside of seam lines.
Section C, Front Door of House:
C1 – Fussy Cut Door Window, 2
1/2" Wide x 2 1/2” Tall
C2 & C3 – Window Curtains,
3” Wide x 3” Tall, Cut 2
C4 & C5 – Door Frame, 1”
Wide x 2 1/2" Tall, Cut 2
C6 – Front Door, 3 1/2"
Wide x 1” Tall
C7 – House, 3 1/2" Wide x
2” Tall
C8 – Front Door, 3 1/2"
Wide x 4 1/2" Tall
C9 – House, 1 1/4" Wide x
8” Tall
C10 – Sky, 1” Wide x 8” Tall
Assemble as for Section A.
Section D, Roof, Front of
House:
D1 – 9 1/2" Wide x 3” Tall
D2 & D3 – Sky, 3 1/2"
Wide x 3 1/2" Tall
Assemble as for Section A.
Section E, Sun and Sky, Front
of House:
E1 – Sky, Scrap
E2 – Sun, 1 1/2" Wide x
1/1/2” Tall
E3 – Sky, Scrap
E4 – Sky, 3 1/2" Wide x 1
1/2" Tall
Assemble as for Section A.
Section F, Chimney, Front of
House:
F1 – Chimney, 1 1/2" Wide
x 1 1/2" Tall
F2 – Sky, Scrap
F3 – Sky, 3 1/2" Wide x 1
1/2" Tall
Assemble as for Section A.
Assemble Front of House:
- Sew Section E to Section F at
E4 and F1-2. Press.
- Sew EF Unit to Section D. Press.
- Sew Section B to Section C.
Press.
- Sew Ric Rac to BC, following
directions from House Sides. Press. Trim Ric Rac back so that it doesn’t
intrude into seam allowances at outside edges of BC.
- Sew DEF to BC. Press.
- Sew A to BCDEF, matching
pathway to doorway. Press. Trim around perimeter, trimming slightly outside of
seam lines.
- Remove papers
Step 5:
Piece Bunting Back of House:
<<Tip>>Beginners: Assemble
Section A, then H, then Buntings
Cut Buntings:
Color or label pattern pieces
prior to cutting them out, and prior to assembly.
Buntings are symmetrical, so
cut 2 for C/F sections, 2 for B/G sections, and 2 for D/E sections.
C1, F1 – Bunting Flag, 1
1/2" Wide x 3 1/2" Tall
C2, F2 – House, 1 1/2"
Wide x 2 1/2" Tall
C3, F3 – House, 3/4" Wide
x 3 1/2" Tall
C4, F4 – House, 4” wide x 4”
Tall
C5, F5 – House, 11/2” Wide x 2
1/2" Tall
C6, F6 – House, 1” Wide x 8”
Tall
B1, G1 – Bunting Flag, 1
1/2" Wide x 4 1/2" Tall
B2, G2 – House, 1 1/4"
Wide x 2 1/2" Tall
B3, G3 – House, 1” Wide x 4
1/2" Tall
B4, G4 – House, 1 1/2"
Wide x 3” Tall
B5, G5 – House, 1 1/2"
Wide x 4” Tall
B6, G6 – House, 1” Wide x 8”
Tall
B7, G7 – Sky, 1” Wide x 8” Tall
D1, E1 – Bunting Flag, 1
1/2" Wide x 3” Tall
D2, E2 & D3, E3 – House, 1
1/4" Wide x 3” Tall
D4, E4 – House, 1 1/2"
Wide x 4” Tall
D5, E5 – House, 1 1/2"
Wide x 2’ Tall
D6, E6 – House, 1” Wide x 8”
Tall
Assemble Buntings:
<< Tip>> If you are using a directional print: As you sew the buntings, be aware that the point of the bunting is always facing down, and section B4 is always at the TOP. Arrange your fabric so that when it is flipped and pressed, it is upright.
- Dot a dab of glue onto the back
of B1.
- Using a strong light, arrange
B1 wrong side against glue, so that all sides overlap into the surrounding
sections by at least 1/4". Press to hold B1 in place.
- Fold back paper at B1/B2
intersection, crease over card stock.
- Using an Add a Quarter ruler,
trim overhang to 1/4".
- Fold paper back into place, and
arrange B2 with right sides together against edge of B1. Holding fabric in
place, flip B2 overtop of section B2 to ensure that you have all seam
allowances covered. Adjust as needed.
- Flip B2 back to right sides
together, and Sew B1/B2 seam.
- Fold back paper at B2/B3
intersection, crease over card stock.
- Using an Add a Quarter ruler,
trim overhang to 1/4".
- Fold paper back into place, and
arrange B3 with right sides together against edge of B1. Holding fabric in
place, flip B3 overtop of section B3 to ensure that you have all seam allowances
covered. Adjust as needed.
- Flip B3 back to right sides
together, and Sew B1/B3 seam.
- Fold pattern back at B123/B4
line. Crease, and using an Add a Quarter ruler, trim seam fabric to 1/4".
- Fold pattern back into place,
and arrange fabric B4 so that edges are even with B123 seam edge, right sides
are together, and it covers all of section B4, when flipped into place.
1 - Flip B4 back to right sides
together, and Sew B123/B4 seam. Flip B4 fabric into place and press carefully.
<<Tip>> Dot a dab
of glue to hold longer pieces of fabric in place, so that they do not flop
around and inadvertently get sewn into adjacent seams.
- Fold pattern back at B1234 /B5
line. Crease paper, and using an Add a Quarter ruler, trim seam fabric to
1/4".
- Arrange fabric B5 so that it is
right sides together, even with B1234. Flip to ensure that it covers all seams
by at least 1/4".
- Flip back to right sides
together, and Sew B1234/B5 seam.
1 - Flip open and press. Dot with
glue to hold in place as necessary.
- Fold pattern back at B12345 /B6
line. Crease, trim seam fabric to 1/4" using an Add a Quarter ruler.
1 - Fold pattern back into place,
arrange B6 fabric right sides together, and long edge even with B12345 edge.
Sew B12345/B6 seam. Flip B6 into place, and Press.
Celebrate!!! You’ve completed
your first paper pieced bunting!!
- Continue to assemble remaining
Bunting sections, C, D, E, F, and G, as per instructions, above. Press
carefully. Trim all interior seams to 1/4”. Trim Sky seam sections to 1/2"
if you wish to have a little extra wiggle room for assembly. Otherwise, trim to
1/4".
Assemble Bunting Section:
Sew B to C.
SEW BC to D
SEW BCD to E
SEW BCDE to F
Sew BCDEF to G
Press all seams in one
direction.
Do not remove papers.
Section A, Garden, Bunting:
A1 – Fussy Cut Flowers, 2
1/2" Wide x 2 1/2" Tall
A2 – Grass, 2” Wide x 2” Tall
A3 – Grass, 5” Wide x 3” Tall
A4 – Fussy Cut Flowers, 2
1/2" Wide x 3” Tall
A5 – Grass, 1 1/2" Wide x
3” Tall
Assemble Section A, Garden,
Bunting:
- Assemble as per House Side
garden instructions. Press.
- Trim to fit Unit BCDEFG.
- Sew Section A to Unit BCDEFG.
Press.
Section H, Roof, Bunting:
H1 – Roof, 9” Wide x 3” Tall
H2 & H3 – Sky, 4” Wide x 4’
Tall (Cut 2)
Assemble Section H Roof,
Bunting:
- Assemble as per House Side roof
instructions. Press.
- Trim to fit Unit ABCDEFG
- Sew Bunting hanging line. I
used Ric Rac. Use whatever strikes your fancy!
<<Tip>> If using
Ric Rac, cut slightly longer than needed and tuck under roofline Ric Rac. Do
not cut Ric Rac exactly to size as it will fray.
- Sew Ric Rac along top of UNIT
ABCDEFG using a seam less than 1/4".
- Trim Ric Rac back so that it
does not infringe on seam allowance at outside edges of pattern.
- Sew Section H to Unit ABCDEFG.
Press. Trim around perimeter, trimming slightly outside of seam lines.
- Remove papers.
Step 6:
Stabilize Sewing Machine Cover
Components:
- Cut batting or stabilizer to
1/2” Less Wide and 1/2" Tall, than your House Side. I used one sided
fusible stabilizer on my Sewing Machine Cover.
- If using fusible stabilizer,
fuse onto wrong side on House Side, following manufacturer’s instructions. If
using batting, quilt as you like, being sure to sew around entire perimeter of
batting with an 1/8” seam. Use thread to match your fabric. Press.
- Continue to fuse or sew
stabilizer/batting onto the wrong side of the remaining House Side, the House
Front, and the House Bunting.
Step 7:
Assemble Sewing Machine Cover:
- Sew House Front to a House
Side, right sides together, being sure they are both oriented upright. Use a
1/4" seam. The remaining seam allowance will be taken up by the stabilizer
when you turn your cover right side out.
- Sew House Bunting to your House
Front+Side Unit, right sides together, maintaining a 1/4" seam.
- Sew Final House Side to your
House Front+Side+Bunting Unit, right sides together, maintaining a 1/4"
seam.
- Sew ends together, right sides
together, completing a rectangular unit.
- Measure the length of your final
sewn House Side. Add a 1/4". Measure the length of your final House Front,
add 1/4". Cut a rectangle of this length and height to become the top of
your sewing machine cover.
<<tip>>
Use the fabric you made the sky from, or another fun material! The top of your
cover doesn’t have to match your House Roof. Have fun with it!
- Stabilize your sewing machine
cover top in the same manner you did the rest of your units.
- Sew the Top to the sewing
machine cover, right sides together. It’s easier than it looks! Just start with
a long side, place right sides together as usual, and sew along that side to 1/4" from the end, turn the corner, tug on the fabric of the top until it will smoothly
align with the next side, and sew. Continue around the remaining sides. Back
tack at the end of the final seam.
- Turn the cover right sides out.
Press.
- Turn bottom edge of sewing
machine cover under 1/4" into the interior of the cover. Edge stitch in
place or fuse in place with hemming tape.
- Sew button onto front door as a
door knob. Add additional embellishments as you wish.
Woot Woot!! I am so psyched you’ve learned so
much about paper piecing and made such a great sewing machine cover!


.JPG)


.JPG)